Spotting and Replacing Dying Capacitors in Arcade PCBs Before They Take Your Board With Them

You're powering up your Street Fighter II Champion Edition for the first time in months, and something's wrong. The audio's crackling like a bad radio signal. The colors look washed out, almost like someone's turned the saturation down. Or worse — the board throws up a jumbled mess of sprites and the screen rolls like a ship in a storm. These aren't random failures. They're the classic symptoms of electrolytic capacitors reaching end-of-life, and if you ignore them, that PCB you've spent years hunting down could suffer permanent, irreversible damage.
This guide walks through identifying capacitor failure in arcade PCBs, sourcing the right replacements, and performing the work yourself. Capacitor replacement isn't wizardry — it's a skill any serious collector can learn with patience, the right tools, and respect for the hardware. Doing this work yourself saves hundreds in repair shop fees, and more importantly, it gives you intimate knowledge of your collection's condition. Let's get into it.
How Can You Tell If Your Arcade PCB Capacitors Are Failing?
Capacitors don't always fail catastrophically. Sometimes they drift out of spec slowly, causing intermittent problems that drive you mad. Other times, they vent electrolyte across the board like a tiny chemical spill, etching traces and destroying nearby components. Knowing what to look for is half the battle.
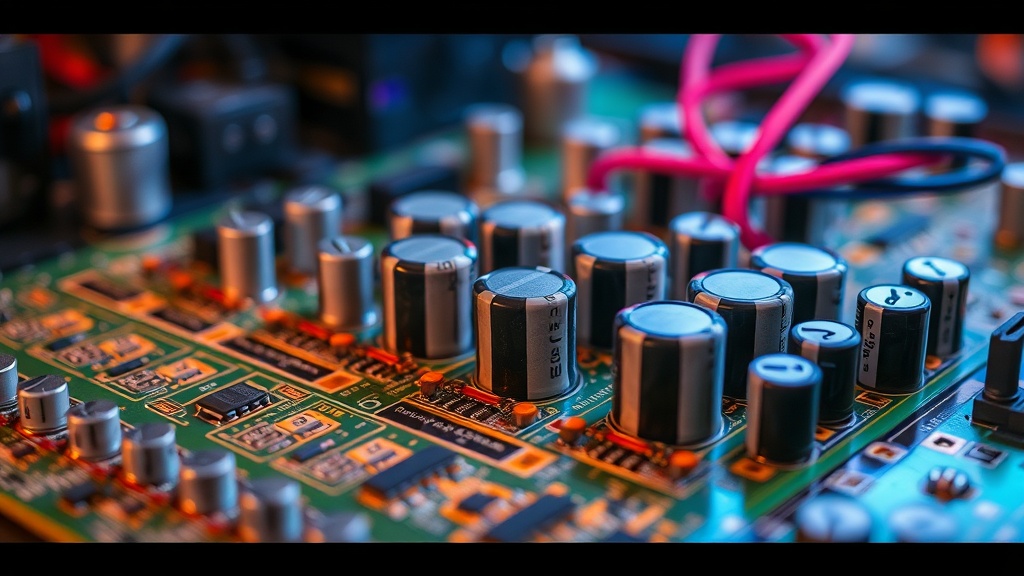
Visual inspection comes first. Power down, unplug, and give the board a good look under decent light. Electrolytic capacitors — the cylindrical ones with the silver or colored tops — should have flat, intact surfaces. If you see domed or bulging tops, that's a capacitor that's vented internal pressure. Sometimes you'll see brownish crust around the base or top vents — dried electrolyte that leaked out. That's your board crying for help.
The smell test sounds weird, but it works. Failed capacitors often give off a sharp, ammonia-like or fishy odor. If you pop open your cabinet and get a whiff of something chemical near the PCB, investigate immediately. I've caught failing caps in my Metal Slug board this way — smelled it before I saw anything wrong on screen.
Performance symptoms vary by location. Capacitors in the power supply section typically cause random resets, garbled graphics, or complete failure to boot. Audio section failures manifest as hum, distortion, or missing channels. Video path capacitors cause color issues, sync problems, or dim output. If your board exhibits these behaviors intermittently — especially when cold, improving as it warms up — suspect capacitors.
One collector I know ignored the slight color shift in his Raiden PCB for months. By the time he pulled the board, a capacitor had leaked electrolyte across a custom ASIC footprint. That chip wasn't available anywhere. The board's now a parts donor. Don't be that collector.
What Tools and Parts Do You Need for Capacitor Replacement?
You don't need a professional rework station to replace through-hole capacitors on arcade PCBs, though it helps for surface-mount work. Here's what actually matters:
- A temperature-controlled soldering iron. Something in the 60-80W range with adjustable temperature. Too hot, and you'll lift pads. Too cold, and you'll fight the solder, increasing risk of damage.
- Desoldering tools. A desoldering pump (solder sucker) works for occasional work. For larger projects, a desoldering gun or copper braid saves hours.
- High-quality replacement capacitors. Don't cheap out here. Stick to reputable brands: Nichicon, Panasonic, Rubycon, or United Chemi-Con. Arcade PCBs ran hot for decades — they need components rated for 105°C operation, not 85°C.
- Capacitance and voltage ratings. Match the original capacitance exactly (within 10% is fine). For voltage, meet or exceed the original rating — going higher is safe, lower is not.
- ESR (Equivalent Series Resistance) meters. Optional but valuable. An ESR meter lets you test capacitors in-circuit, catching failures before they cause problems. The Analog Devices learning center has excellent technical resources on ESR if you want to understand the physics.
Before ordering parts, check the Killer List of Videogames for your specific PCB's capacitor list. Many collectors have documented exact values and locations. Some boards have known problem capacitors — the battery-backed RAM caps on certain Capcom boards, for example — that should be replaced preventatively regardless of condition.
What's the Step-by-Step Process for Safe Capacitor Replacement?
Documentation first. Photograph the board from multiple angles before touching anything. Note capacitor polarity — electrolytics are polarized, and installing them backwards turns them into small firecrackers. Some boards have polarity marked; others don't. Your photos are insurance.
Discharge everything. Arcade PCBs have large filter capacitors that hold lethal voltages. Even with the power off, these can bite. Use a resistor (10K ohm, 5W works) across the cap terminals to drain them safely. Never short capacitor terminals with a screwdriver — you'll damage the board and possibly yourself.
Remove the old capacitors. Heat one lead while gently pulling the capacitor body. Alternate leads, working slowly. Don't force it — if the solder won't flow, your iron isn't hot enough or the tip needs cleaning. Once the capacitor is free, use your desoldering tool to clear the holes completely. Blocked holes make inserting new components frustrating.
Clean the area. If there was any leakage, neutralize it with isopropyl alcohol (90% or higher) and a soft brush. Electrolyte is corrosive — left untreated, it continues eating traces. For stubborn residue, a fiberglass scratch pen (used gently) removes corrosion without damaging the PCB.
Install new capacitors. Match the polarity marks — the stripe on the capacitor body goes to the negative side. Insert the leads, bend them slightly to hold the capacitor in place, then solder from the bottom. Apply heat to the pad and lead simultaneously, feed solder until it flows smoothly, then remove heat. A good joint is shiny and concave. Dull, blobby joints are cold and will fail.
Inspect and test. Check for solder bridges between adjacent pads. Verify polarity one more time — seriously, check twice. Power up with a current-limited supply if you have one, or use a known-good test rig. Start with the PCB outside the cabinet, using a temporary harness. If something's wrong, you want to catch it before it affects other components.
When Should You Call a Professional Instead?
Some situations exceed DIY territory. If the PCB has surface-mount capacitors (common in late '90s and 2000s boards), replacement requires more skill and possibly hot-air rework equipment. Multi-layer PCBs with internal ground planes are harder to desolder — the planes act as heat sinks, making it difficult to get pads hot enough without excessive heat input.
Water-damaged boards with extensive corrosion, or boards where capacitors have already damaged traces and nearby components, need professional assessment. The JAMMA Nation X forums maintain a list of recommended repair techs who specialize in arcade hardware. These folks have seen every failure mode and stock obscure parts you won't find at Digi-Key.
Also, consider your comfort level. If you're staring at a $2,000 Metal Slug PCB and your hands are shaking, there's no shame in paying for expertise. The repair cost is insurance against turning a valuable board into scrap. That said, starting on common, inexpensive boards — Pac-Man, Galaga, Donkey Kong — builds confidence and skill without catastrophic financial risk.
Capacitor replacement is maintenance, not restoration. It's the oil change of arcade collecting — unglamorous, necessary, and something that extends the useful life of your machines by decades. The boards in your collection have already survived 30, 40, sometimes 50 years. With proper capacitor care, they'll be playable for another 50. That's the kind of stewardship that separates collectors from hoarders.