Maintaining Mechanical Coin Acceptors for Reliable Arcade Play

Troubleshooting and Cleaning Vintage Mechanical Arcade Coin Mechs
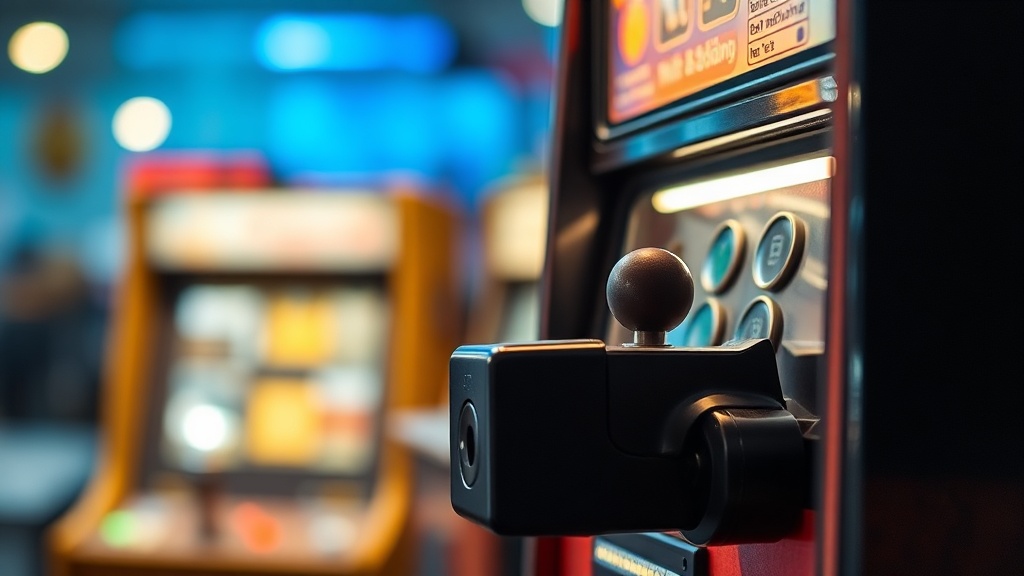
You drop a quarter into your 1981 Centipede cabinet, expecting that satisfying 'clink-thunk' that signals a credit, but instead, the coin rattles around and slides right back into the reject tray. It's a common frustration for home collectors who insist on the authentic coin-op experience. While many owners just flip their machines to free play, there is something deeply rewarding about hearing a physical coin hit the cash box. Maintaining these mechanical marvels—specifically the cast metal or plastic acceptors made by companies like Coin Mech or SuzoHapp—is a vital skill if you want your game room to feel like a real 1980s arcade. These devices don't use fancy sensors; they rely on physics, weight, and magnetism to decide if a coin is real or a slug.
The anatomy of a mechanical coin acceptor is surprisingly complex for something that doesn't have a circuit board. A quarter enters the top, passes through a cradle that checks its diameter and weight, rolls past a magnet to filter out steel slugs, and then drops through a separator. If anything is even slightly out of alignment (or just plain filthy), the whole process fails. Most collectors inherit cabinets that haven't seen a cleaning in twenty years. Inside, you'll find a nasty mixture of skin oils, dust, and metallic shavings that create a sticky residue. This grime increases friction, slowing the coin down just enough to trip the reject mechanism. Cleaning these paths is the first step in any restoration.
Why does the coin fall straight through to the return slot?
When a coin goes in and immediately comes out the bottom without getting stuck, it usually means the acceptor thinks it's a fake. The most frequent culprit is a misaligned cradle. This is the small, pivoting arm that catches the coin as it first enters. If the cradle's counterweight isn't balanced perfectly, the coin won't have the momentum to trip the release. You'll often see a tiny screw on the side of the cradle—this is your adjustment point. Turning it just a fraction of a millimeter can be the difference between a 100% acceptance rate and total failure. Sometimes, the cradle itself is bent from decades of abuse. You can usually straighten it with a pair of needle-nose pliers, but be careful (these parts can be brittle if they're old zinc castings).
Another reason for instant rejection is a magnet that's too strong or positioned too close to the path. In the US, quarters are made of a copper-nickel sandwich that isn't magnetic, but many foreign coins or tokens are. If the magnet is dirty, it can pick up tiny bits of iron filing that create a physical 'speed bump.' This bump slows the coin down, making it lose the inertia needed to clear the exit gate. Wipe the magnet face with a clean cloth. If you find the magnet is grabbing your legitimate tokens, you might need to back it off slightly. There’s usually a brass screw that lets you slide the magnet housing away from the coin track. Just don't remove it entirely, or you'll find yourself dealing with people dropping washers and steel slugs into your machines.
What are the best ways to remove years of carbon and grease?
You might be tempted to spray WD-40 or some other lubricant into your coin mech to 'slick it up.' Don't do it. Lubricants are the enemy of coin acceptors. Oil attracts dust and eventually turns into a thick paste that will gum up the works worse than before. Instead, you want the paths to be bone-dry and surgically clean. Start by taking the acceptor out of the coin door. Most of them are held in by two simple spring clips. Once it's out, you can often pop the side plate open to reveal the entire coin path. This is where you'll see the 'black track'—a literal trail of carbon and dirt left behind by millions of hands touching coins.
For a deep clean, use warm water and a mild dish soap like Dawn. Scrub the metal paths with an old toothbrush. If the grime is particularly stubborn—and it usually is—use a bit of 90% isopropyl alcohol on a cotton swab. Avoid using harsh abrasives like steel wool because you don't want to create scratches that will catch dirt later. For the heavy-duty restoration of old metal mechs, some collectors use an ultrasonic cleaner. This is a great way to get into the tiny pivots of the cradle that you can't reach with a brush. Once you're done, dry everything thoroughly with compressed air. Any moisture left behind will cause the metal to oxidize, leading to more friction issues down the road. Check the Coin Mechanisms Inc. website for specific diagrams if you aren't sure how to put the springs back in place.
How do you adjust the sensitivity for specific tokens?
If you're running your own tokens—like the classic brass ones from old chains—you'll find that they don't always behave like quarters. Brass is a different weight and has different magnetic properties. Most mechanical acceptors have a 'separator' gate at the very bottom. This is a small metal flipper that decides if the coin goes to the cash box or the return. There is a small adjustment slider here that changes the width of the gap. If your tokens are slightly thicker than a standard US quarter, they'll hit this gate and bounce back to the reject slot. By loosening the set screw and widening the gap, you can 'teach' the mech to accept your custom currency.
Don't forget the 'reject lever' spring. This is the spring that pulls the main plate back into position when you press the button on the front of the coin door. If this spring is weak, the plate might stay slightly open, allowing coins to bypass the testing cradle and fall straight down. You can often find replacement springs at sites like SuzoHapp, or you can temporarily 'fix' a weak spring by snipping off a couple of coils and re-bending the hook. It's a bit of a hack, but it works in a pinch when you're trying to get a game ready for a party. Also, take a look at the BYOAC Wiki for a breakdown of various brand-specific quirks, as an Atari-branded mech might have different tension requirements than a generic one from the 90s.
The final check is the most important: the drop test. Take a stack of twenty quarters and feed them through as fast as a teenager at a 1984 arcade would. If the mech accepts 19 out of 20, you're in good shape. If it fails more than that, look for 'burrs' on the metal. These are tiny sharp edges where the coin path has worn down over decades. A light pass with a very fine 1000-grit sandpaper can smooth these out. You want the coin to glide, not bounce. Once the mechanical action is smooth, the sound of that coin hitting the plastic bucket at the bottom of the cabinet will be the best reward for your work. It's a small detail, but for a true collector, it's what makes the machine feel alive again.