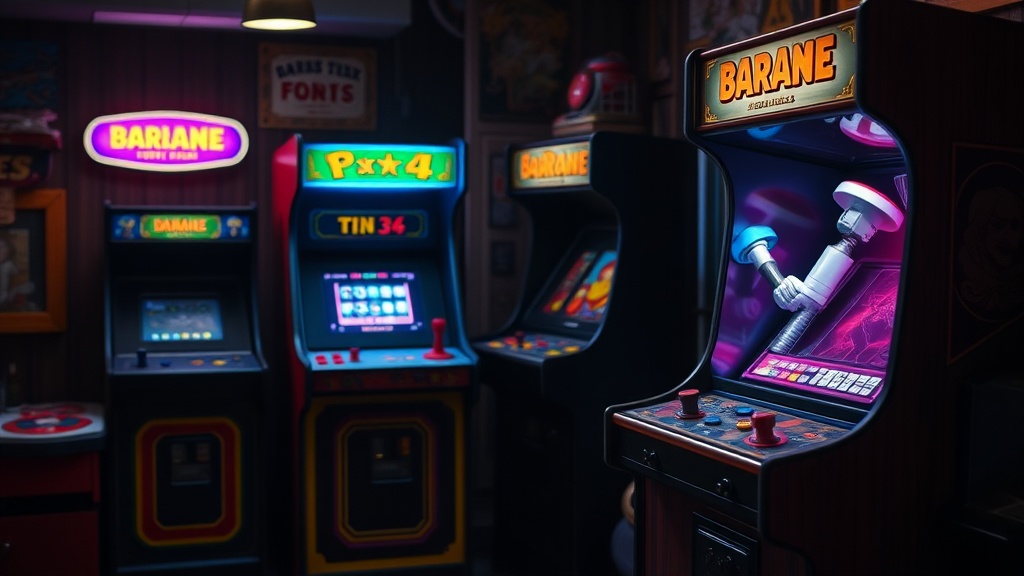
How to Restore a Vintage Arcade Cabinet to Its Former Glory

This post covers the complete restoration process for vintage arcade cabinets—from initial assessment and sourcing replacement parts to refinishing woodwork and calibrating CRT monitors. Whether you've stumbled upon a weathered Donkey Kong at an estate sale or you're finally tackling that Pac-Man collecting dust in the garage, restoring an arcade cabinet preserves gaming history while creating a centerpiece worthy of any collection.
How Much Does Arcade Cabinet Restoration Typically Cost?
Expect to spend anywhere from $300 for a light cosmetic refresh to $2,500+ for a complete ground-up rebuild. The final price depends heavily on the cabinet's condition, rarity, and which components need replacement.
A "working but ugly" cabinet—one that powers on but shows heavy wear—usually runs $400-$800 to restore. This covers new side art, control panel overlays, and perhaps some joystick and button replacements. A "dead" cabinet with a non-functional monitor, damaged PCB, and structural rot? That's where costs climb fast.
Here's a breakdown of typical expenses:
| Component/Service | Budget Option | Mid-Range | Premium/Authentic |
|---|---|---|---|
| Side Art (vinyl wrap) | $60-$100 | $120-$180 | $250-$400 (licensed reproduction) |
| Monitor Repair/Replacement | $150 (cap kit) | $300-$500 (refurbished CRT) | $600-$900 (NOS CRT) |
| Control Panel Kit | $80-$120 | $150-$250 | $300+ (authentic reproduction) |
| Wood/Structural Repair | $50 (DIY materials) | $200-$400 (professional) | $500+ (full rebuild) |
| PCB Repair | $50-$100 | $150-$300 | $400+ (rare boards) |
Worth noting: some collectors spend years hunting for the "perfect" deal on parts. Others (impatient types) pay premiums for convenience. There's no wrong approach—just different philosophies.
What Tools Do You Need to Restore an Arcade Cabinet?
The essentials include a multimeter, soldering iron, orbital sander, staple gun, and basic woodworking hand tools. You don't need a professional shop—many successful restorations happen in garages with modest equipment.
Start with the electrical side. A decent multimeter (the Fluke 117 runs about $200, though cheaper options work fine) helps diagnose power supply issues, monitor problems, and PCB faults. A temperature-controlled soldering station—something like the Hakko FX-888D at $100—makes circuit board repairs far less frustrating than those $15 fire-starters from hardware stores.
For the cabinet itself:
- Orbital sander (random orbit, 5-inch) for stripping old finish and smoothing repairs
- Staple gun (pneumatic preferred, electric works) for reattaching side art and t-molding
- Router with flush-trim bit for control panel work and edge restoration
- Clamps—more than you think you need. Seriously. Buy extras.
- Wood filler and Bondo for repairing chips, cracks, and (inevitable) water damage
The catch? Monitor work requires caution. CRTs store lethal voltages even when unplugged. If you're not comfortable discharging a tube and working with high-voltage components, farm this out. The Arcade Museum maintains a directory of specialists who handle vintage monitor repair.
How Do You Repair or Replace a Dead Arcade Monitor?
First, determine whether the monitor powers on at all. No signs of life usually means power supply issues—often fixable with a capacitor replacement kit ($30-$60 from suppliers like Twisted Quarter). A monitor that powers but shows no image typically has deflection board problems or a worn CRT tube.
Cap kits represent the best bang-for-buck repair. Electrolytic capacitors dry out over decades—replacing them restores brightness, focus, and color stability. The work requires decent soldering skills and patience. Document everything with photos before desoldering. Those wires? They matter.
Sometimes the CRT itself fails. Finding exact replacements for tubes like the Wells-Gardner K4900 or Electrohome G07 gets harder every year. Options include:
- Tube swapping—finding a compatible CRT from another cabinet (dimensions and yoke impedance must match)
- Professional rebuild—sending your tube to specialists who replace the cathode and rejuvenate the gun (runs $200-$400)
- LCD conversion—controversial among purists, but practical. The Arcade Monitor LCD line offers drop-in replacements that mount like original CRTs
That said, there's something magical about a properly calibrated CRT. The scanlines, the phosphor glow, the slight curve of the glass—LCDs approximate this, but purists know the difference.
Where Do You Find Authentic Replacement Parts?
Specialized arcade suppliers, eBay, Facebook collector groups, and arcade auction sites represent your best sources. Each has trade-offs between authenticity, price, and convenience.
For reproduction side art and decals, This Old Game and Phoenix Arcade lead the industry. Their screen-printed vinyl matches original colors and textures far better than cheap inkjet alternatives. Expect to pay $150-$300 for complete art kits—the investment shows.
Control components come from retailers like Paradise Arcade Shop and Focus Attack. Sanwa and Seimitsu joysticks remain the gold standard for Japanese cabinets; Happ (now Suzo-Happ) dominates American-style builds. Don't cheap out here—players notice mushy sticks and sticky buttons immediately.
PCB repair parts pose the biggest challenge. Custom chips, mask ROMs, and proprietary connectors often require cannibalizing donor boards. The Killer List of Videogames (KLOV) forums connect collectors with spare parts and repair expertise.
Working with T-Molding and Edge Banding
T-molding—the rubbery strip protecting cabinet edges—deteriorates after 30+ years. Replacement requires removing the old stuff (often crumbles), cleaning the slot thoroughly, and pressing new molding into place. A heat gun helps handle corners. Order 10% more length than measured—you'll need it.
Matching original colors matters. Dark gray, black, and red dominate classic cabinets, but subtle shade differences separate "restored" from "ruined." Request samples before committing to large orders.
How Long Does a Full Restoration Take?
Plan for 40-80 hours spread across several weekends. The timeline stretches longer if you're waiting on parts, learning new skills, or working with limited shop time.
The process breaks down roughly:
- Assessment and teardown: 4-6 hours (document everything)
- Monitor repair: 3-8 hours (or weeks if outsourced)
- Woodwork and structural repair: 10-20 hours
- Art and cosmetic restoration: 8-15 hours
- Reassembly and testing: 6-10 hours
- Troubleshooting: 2-20 hours (the wildcard)
Here's the thing—restoration isn't a race. The best results come from methodical work: letting wood filler cure completely, applying multiple thin coats of paint rather than one thick gloppy layer, testing each subsystem before final assembly. Rushing leads to rework. Nobody enjoys stripping fresh art because they forgot to test the monitor first.
Preserving Originality vs. Practical Modifications
Purists insist on factory-original everything—including the original power supply that might burn down the house. Pragmatists swap in modern switching power supplies (the Mean Well LRS series works beautifully) and add switching controls for convenience.
Both approaches have merit. A museum-grade restoration demands authenticity. A cabinet meant for actual play in a home game room? Modern safety features aren't just acceptable—they're smart. Original transformers run hot. Original wiring insulation crumbles. You get to decide where to draw the line.
Many collectors compromise: keep all original parts stored safely, install modern equivalents for daily use. Future owners can always revert to factory spec.
"The best restoration is one where you can't tell anything was done." — Old arcade collector wisdom
That philosophy guides every decision. New art should match original colors. New controls should feel like the originals did in 1982. The goal isn't making the cabinet look new—it's making it look right.
When the power button finally clicks and that familiar attract mode flickers to life—complete with the slight high-pitched whine of a CRT and the chunky clack of genuine arcade controls—all those weekends disappear. What remains is a working piece of history. Your history now, at least until the next caretaker takes the reins.
Steps
- 1
Inspect and Assess the Cabinet Condition
- 2
Clean and Repair Controls and Electronics
- 3
Refinish and Protect the Cabinet Exterior