Finding High-Quality Arcade Cabinet Artwork for Restorations

Are you staring at a faded or peeling control panel decal and wondering where to even begin?
Restoring an arcade cabinet is more than just a mechanical fix; it is a visual overhaul. When the original artwork—the side art, the marquee, and the control panel decals—is gone or damaged, the machine loses its identity. Most collectors face the same hurdle: finding graphics that look authentic rather than cheap-looking digital prints. This guide covers the different types of arcade graphics available, the materials you should look for, and how to ensure your replacement art doesn't look like a sticker from a stationery shop.
The visual identity of a cabinet is its most striking feature. Whether you are working on a classic 1980s upright or a modern cocktail cabinet, the quality of the print determines if the machine looks like a professional piece of history or a DIY project gone wrong. We'll look at what to watch out for when purchasing these components.
What kind of materials should I look for in arcade decals?
Not all vinyl is created equal. If you buy standard adhesive vinyl from a general craft store, you'll likely regret it once the heat from the monitor or the friction of gameplay hits it. You need to look for specific properties. High-quality arcade-grade decals usually feature a few specific traits:
- Lamination: Always look for UV-protected, laminated vinyl. This prevents the colors from fading under bright room lights and protects the ink from moisture.
- Adhesive Strength: You want a vinyl that stays put but doesn't leave a gummy, unremovable residue if you ever have to replace it again.
- Texture: For control panels, some collectors prefer a matte finish to reduce glare from overhead lighting, which can make reading the buttons difficult.
A common mistake is buying "paper-thin" decals. These look great in a digital preview, but once applied to a curved cabinet edge, they crease and peel. A thicker, high-quality vinyl will hug the contours of your cabinet much more effectively. If you want to see how different materials react to light, checking out professional printing standards via Print Industry resources can help you understand the technical side of ink density and substrate thickness.
Where can I find authentic-looking replacement graphics?
The market for arcade art is split between two worlds: the reproduction specialists and the scrap hunters. If you are looking for a specific, rare game, you might not find a new kit easily. However, for popular titles like Pac-Man or Galaga, several specialized vendors exist. When browsing, pay close attention to the "scan quality." A high-quality reproduction uses high-resolution scans of original artwork, not just a low-res jpeg pulled from a Google search.
If you are hunting for original, vintage-correct pieces, you might find luck on auction sites, but be careful. Many "original" pieces being sold are actually high-quality reproductions. Look for signs of actual age—yellowing of the adhesive or specific wear patterns—if you want the real deal. If you prefer a modern, clean look, a new reproduction kit is often the safer bet for a flawless finish. For those interested in the technical specs of how these are manufactured today, the Graphic Central resources can provide context on modern printing techniques.
How do I apply my new decals without bubbles?
The application process is where many collectors lose their nerve. A single bubble or a crooked edge can ruin hours of work. To avoid this, you need a systematic approach. First, clean your surface—and I mean truly clean. Any microscopic bit of dust or old adhesive will show through the new art. Use a mild isopropyl alcohol solution to prep the surface, but avoid anything too harsh that might damage the underlying wood or plastic.
The "wet method" is often the best way for beginners. This involves lightly misting the surface with a mixture of water and a tiny bit of dish soap. This allows you to slide the decal into the perfect position before the adhesive sets. Once positioned, use a squeegee (or a soft rubber tool) to push the water and air out from the center toward the edges. It's a slow process, but patience is your best tool here.
| Part of Cabinet | Recommended Material | Application Tip |
|---|---|---|
| Side Art | Large Format Vinyl | Use a heat gun for curves |
| Marquee | Translucent Polycarbonate | Check for light leaks |
| Control Panel | Matte Vinyl | Clean thoroughly to avoid texture |
| Bezel | Clear PET/Acetate | Ensure no fingerprints |
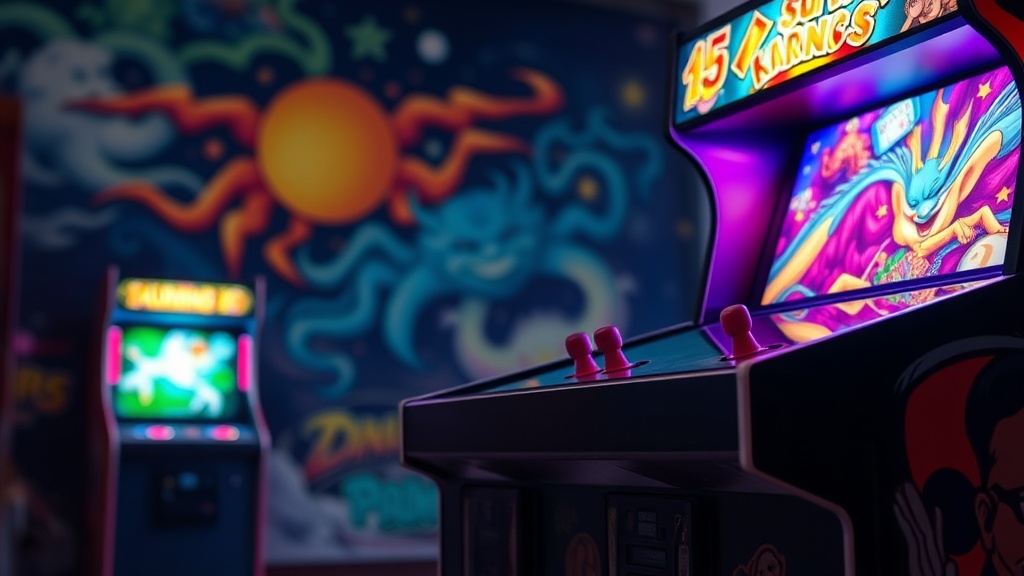
Don't forget the marquee. The marquee is the "crown" of the machine. If you use a standard paper or a cheap plastic, the light from the CCFL or LED strip behind it will look uneven. Look for translucent films specifically designed for backlit displays. This ensures the light is distributed evenly across the graphic, preventing dark spots that make the machine look broken.
If you are working on a project that requires high precision, remember that the edges are the most vulnerable. When applying side art, especially on an upright cabinet, the way the vinyl wraps around the corner is vital. If the vinyl is too stiff, it will pop off. A little bit of warmth from a hair dryer can make the vinyl more pliable, allowing it to mold to the shape of the cabinet edges. Just don't overdo it—too much heat can melt the adhesive or even warp the underlying material.
One last thing: always double-check your measurements. Even a millimeter of difference can mean the difference between a perfect fit and a gap that shows the raw wood underneath. It's better to be too small than too large. If a piece is too large, you can trim it with a precision blade once it's applied, but you can't add material back once it's too small.